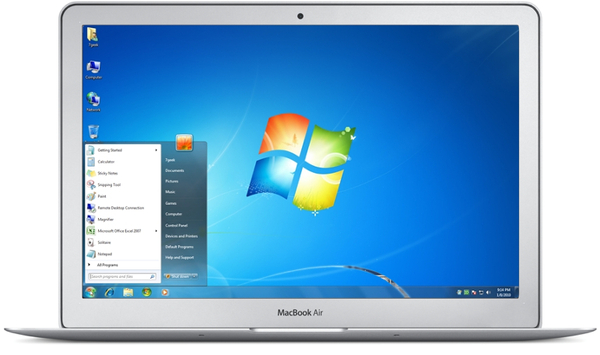
Installing Windows on your Mac
 There are times when you want to run Windows and you don’t have a PC. That might be because you want to play a game that is only available for Windows, or you might want to run some PC only software. There are two methods of running Windows on your Mac and which way you go will largely depend on what you want to do:
Virtual Machine
A virtual machine is where an application like VirtualBox runs and pretends to be computer hardware. Windows is then installed on this application, known as a hyper-visor and then you can run, boot Windows. The advantage here is that this can all be done without rebooting or leaving MacOS. This means that while working in MacOS you can boot into Windows in the background and then switch from one windows to the other quickly and easily. The drawback is that you will be limited to the type of applications/games you can run. Not because they won’t work, but because running as a virtual machine means it will be much slower.
Bootcamp
This is the more complicated method of installing Windows. With this method you need to re-partition your hard disk, create a boot-able USB and then use Bootcamp and install Windows on that partition. This is an option when you want to play games or use software that requires the sort of performance that you will not get when running a virtual machine. The disadvantage here is that every time you want to go from MacOS to Windows, it will require a reboot of the computer.


